


Decorating Country Home Latest Updates
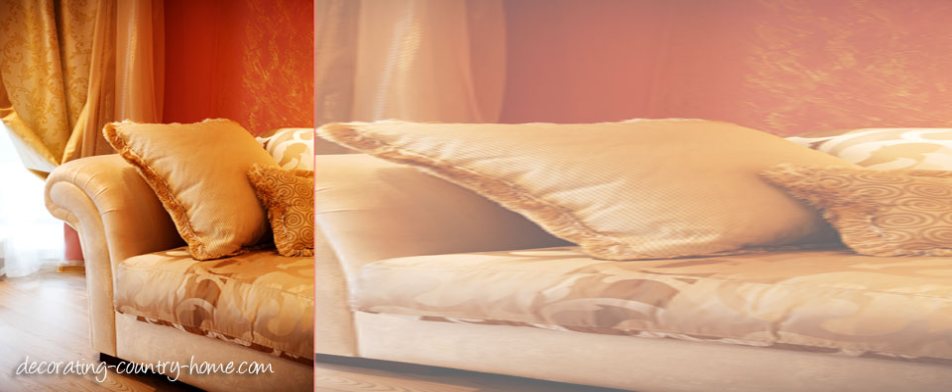
Country Home Decorating | Decorating Ideas For Country Homes | Country Living Decor
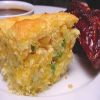
Creative country home decorating ideas, country living and country home decor. Decorating ideas for country homes. Gardening and southern recipes
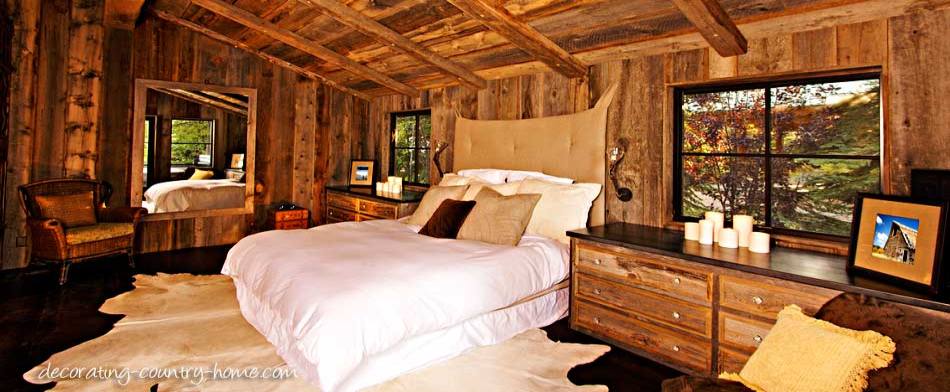
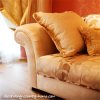
Country Style Bedding | Beautiful Country Bedding Collection
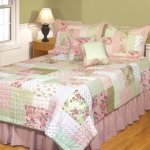
Country style bedding is unmatched in beauty and comfort. Take a look at our country style bedding collection.
Continue reading "Country Style Bedding | Beautiful Country Bedding Collection"
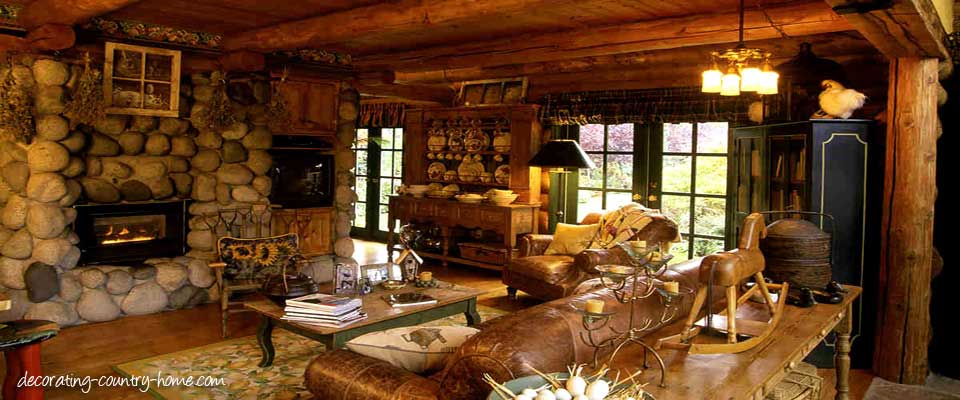
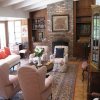
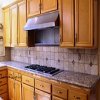
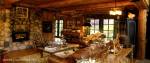
Design Gallery - Country Home Decoration Ideas
The decorating country home design gallery, showing design and style examples to give you ideas for your country home decoration.
Continue reading "Design Gallery - Country Home Decoration Ideas"
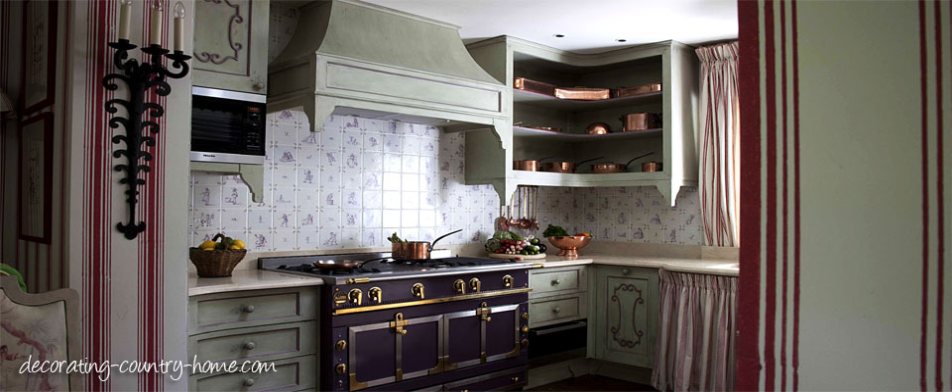
Shaker Style Decorating | The Beautiful Simplicity Of Shaker Decor
Shaker style decorating is beautiful simplicity in home decor. The decor is simple and uncluttered, making use of rustic shaker furniture, simple glass objects and woven baskets.
Continue reading "Shaker Style Decorating | The Beautiful Simplicity Of Shaker Decor"
Backyard Chicken Raising | How To Not Raise Backyard Chickens
A must read for anyone wanting to raise backyard chickens. Everything you need to know about how to not raise chickens.
Continue reading "Backyard Chicken Raising | How To Not Raise Backyard Chickens"


